2025 में ₹25,000 के अंदर बेस्ट लैपटॉप्स की तलाश है?
इस आर्टिकल में, हम उन बेस्ट लैपटॉप्स का परिचय कराते हैं जो Students, ऑफिस काम, और रोज़मर्रा के कार्यों के लिए परफेक्ट हैं – वो भी बजट में.
Top 5 बेहतरीन laptops की बात करते हैं जो पैसा वसूल वैल्यू प्रस्तूत करते हैं, Top 5 laptops जो स्टूडेंट, ऑफिस काम और कैज़ुअल यूज़र्स के लिए आदर्श हैं, जानिए ऐसे लैपटॉप्स के बारे में जिनमें शक्तिशाली processor, पर्याप्त RAM और स्टोरेज, शानदार डिज़ाइन और बहुत कुछ है. Acer, ASUS, Lenovo, HP, और Dell – ये लैपटॉप्स फीचर से भरपूर हैं और आपकी जेब पर बोझ नहीं डालते.
Top 5 laptops: 1. Acer one 14 Z2-493
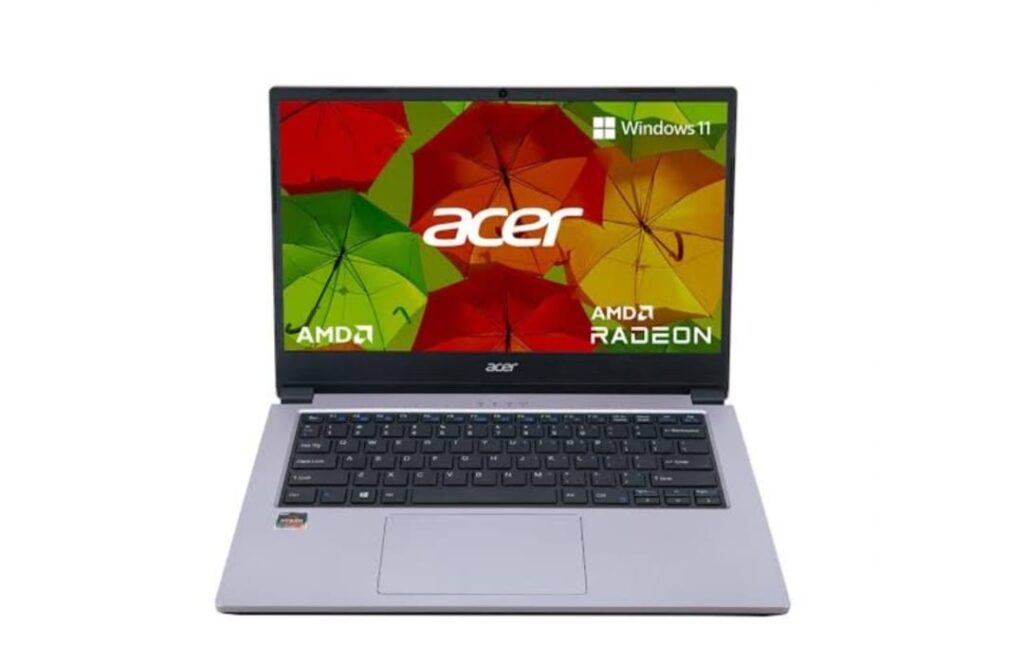
Acer one 14 Z2-493 एक बजट-फ्रेंडली लैपटॉप है जो रोज़मर्रा के कार्यों के लिए बेहतरीन प्रदर्शन प्रस्तुत Top 5 laptops करता है,
Specification:
- Proccesor : AMD Ryzen 3 3250U (2.60GHz base, 3.50GHz boost)
- Graphics: AMD Radeon graphics
- RAM: 8GB DDR4
- Storage: 512GB SSD
- Display: 14-इंच HD (1366×768), slim bezels
- OS: Windows 11 Home
- Software: MS Office Home & Student
- Connectivity: HDMI, USB 3.2, Gigabit LAN
कीमत: ₹24,999
Acer one 14 Z2-493 उन users के लिए आदर्श है जो किफायती, हल्के लैपटॉप की तलाश में हैं, जो मजबूत प्रदर्शन प्रस्तुत करता हो, और यह काम और मनोरंजन दोनों के लिए ठीक है.
Also Read : Moto G35 5G – FASTEST Phone Under ₹9,999
Top 5 Laptops: 2. ASUS VivoBook 15

ASUS Vivobook 15 प्रदर्शन और किफ़ायत का बेहतरीन संयोजन है, जो students, ऑफिस काम और सामान्य युजर्स के लिए आदर्श है.
Specification
- Processor: Intel Pentium Gold 7505 (2.0 GHz, 3.5 GHz up to)
- Graphics: Intel UHD Graphics
- RAM: 8GB DDR4
- Storage: 512GB SSD
- Display: 15.6 inch FHD (1920 x 1080)
- Battery: 37WHrs, 2-cell Li-ion
- Ports: USB 3.2, USB-C, HDMI, 3.5mm audio jack
- Wi-Fi: Wi-Fi 5, Bluetooth 5.1
–कीमत: ₹20,499
8GB RAM, 512GB SSD और FHD डिस्प्ले के साथ, ASUS Vivobook 15 काम, अध्ययन और मनोरंजन के लिए आदर्श लैपटॉप है, जिसकी कीमत ₹20,499 है
Top 5 Laptops: 3. Lenovo E41-55
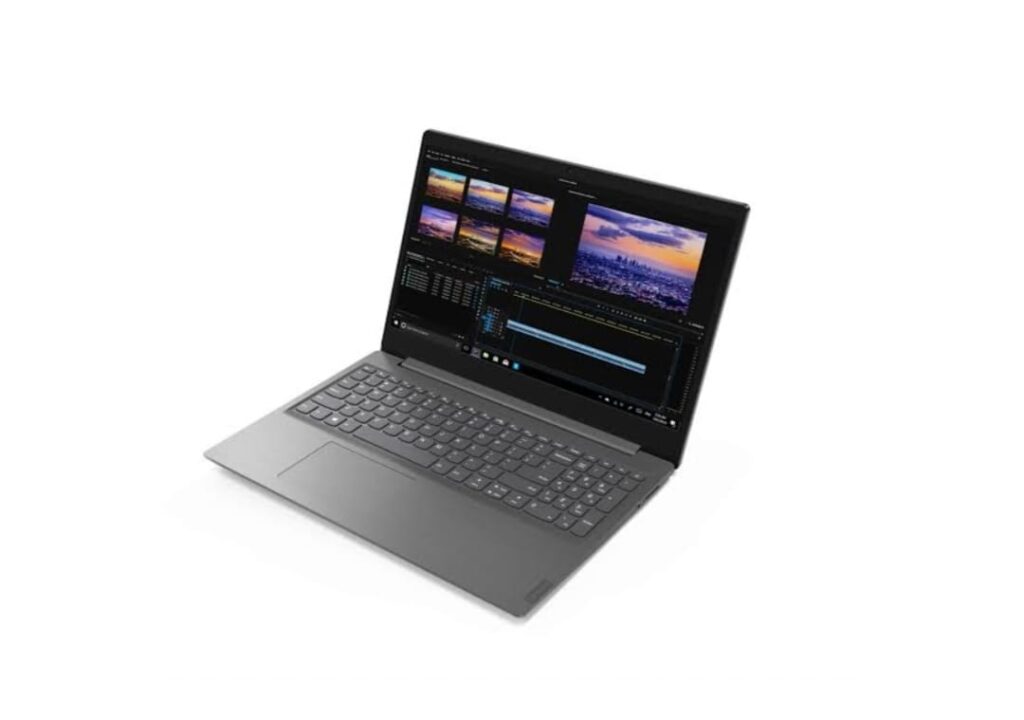
Lenovo E41-55 रोज़मर्रा के कार्यों के लिए बेहतरीन प्रदर्शन और किफायती मूल्य प्रदान करता है, जो students और ऑफिस काम के लिए आदर्श है.
Specification:
- Processor: AMD Athlon A3050U (2.3GHz base,
- 3.2GHz up to, 2 core)
- RAM: 4GB DDR4
- Storage: 256GB SSD
- Display: 14-inch HD (220 Nits), Antiglare
- Graphics: Integrated AMD Radeon Graphics
- OS: DOS
- Ports: USB 2.0, USB 3.1, USB-C, HDMI, Ethernet, audio jack
- Keyboard: spill resistant, full-size
- कीमत: ₹25,990
4GB RAM, 256GB SSD, और 14-इंच HD डिस्प्ले के साथ, Lenovo E41-55 रोज़मर्रा के उपयोग के लिए एक विश्वसनीय और किफायती लैपटॉप है, जिसकी कीमत सिर्फ ₹25,990 है.
Top 5 Laptops: 4.HP 255 G9
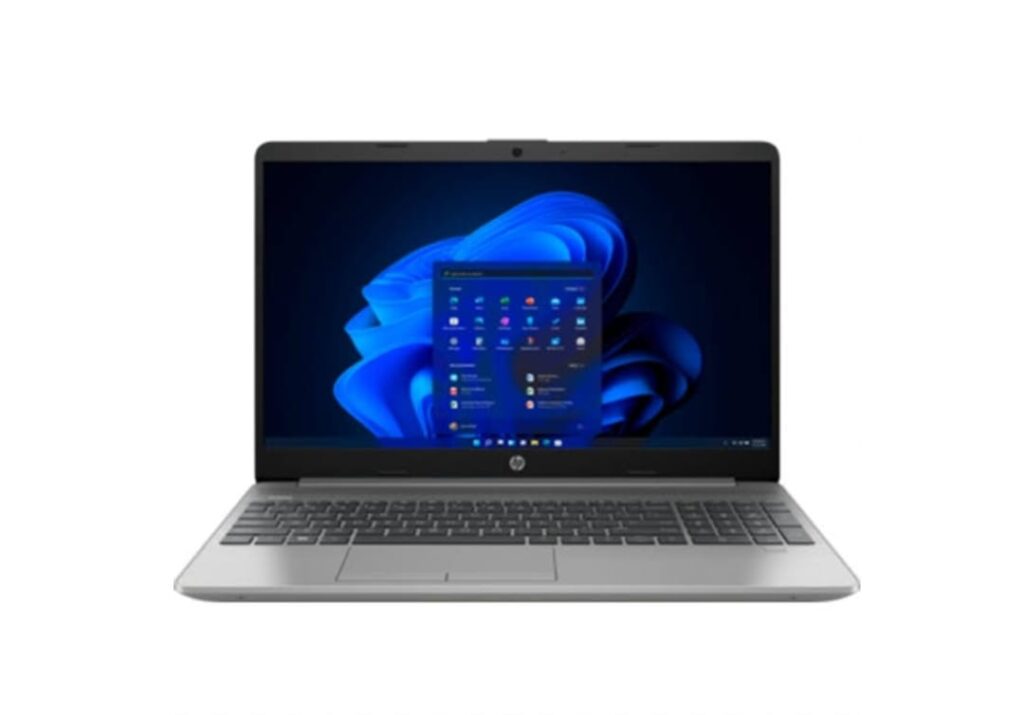
HP 255 G9 एक बजट-फ्रेंडली लैपटॉप है जो बेहतरीन प्रदर्शन प्रस्तुत करता है, जो students और ऑफिस काम के लिए आदर्श है.
Specification:
- Processor: AMD Athlon Silver 3050U (2.3 GHz, 3.2 GHz तक)
- RAM: 8GB DDR4 (16GB expandable up to)
- Storage: 256GB SSD (1TB expandable up to )
- Graphics: AMD Radeon Graphics
- Display: 15.6-inche HD (1366 x 768), anti glear, 250 nits briteness
- OS: Windows 11 Professional
- Software: Microsoft Office 2021 Pro Plus (Lifetime Validity)
- Ports: USB Type-C, USB Type-A, HDMI, audio jack
- Wireless: Wi-Fi 5, Bluetooth 5
–कीमत: ₹23,500
HP 255 G98GB RAM, 256GB SSD, और प्री-इंस्टॉल Windows 11 Pro और Microsoft Office के साथ एक बेहतरीन ऑप्शन है, जो रोज़मर्रा के उपयोग के लिए ₹23,500 में उपलब्ध है.
Top 5 Laptops: 5 Dell Inspiron 15
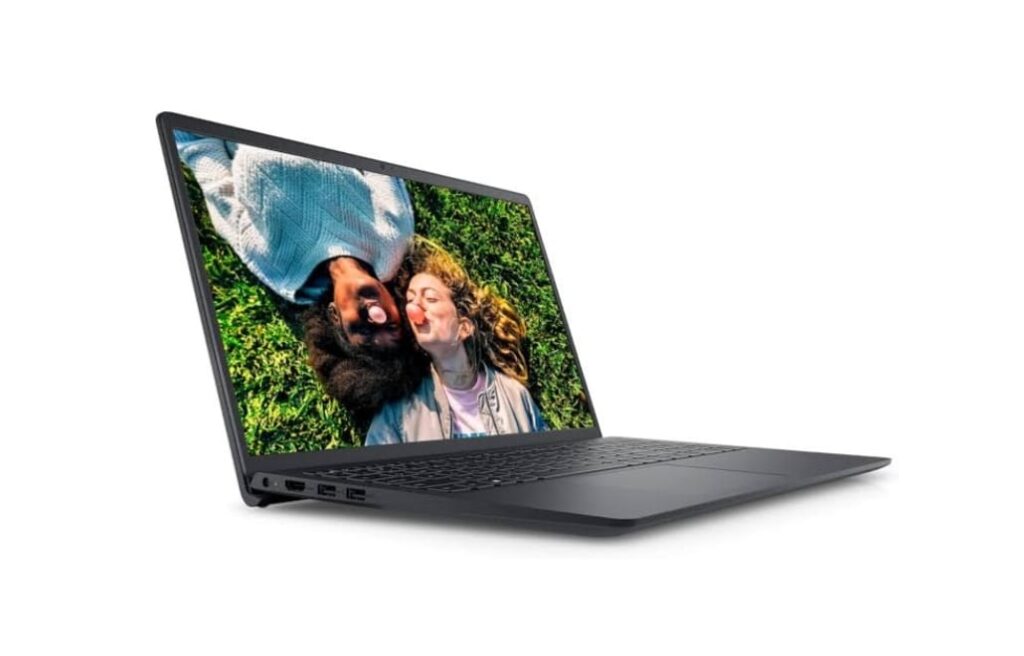
Dell Inspiron 15 प्रदर्शन और पोर्टेबिलिटी का बेहतरीन संयोजन है, जो Top 5 laptops students और ऑफिस काम के लिए आदर्श है.
Specification:
- Processor: AMD Ryzen 3 7320U (4 core, 6MB cash)
- RAM: 8GB DDR4
- Storage: 512GB SSD
- Display: 15.6-inch FHD (1920 x 1080), 120Hz
- Graphics: Integrated AMD Radeon Graphics
- OS: Windows 11 Home
- Software: Microsoft Office Home & Student 2021 (pre installed)
- कीमत: ₹24,990
₹24,990 में Dell Inspiron 15 तेज़ प्रदर्शन, 512GB SSD स्टोरेज, और प्री-इंस्टॉल Microsoft Office के साथ एक बेहतरीन ऑप्शन है, जो रोज़मर्रा के कार्यों और उत्पादकता के लिए आदर्श है.
Conclusion:
₹25,000 के बजट में, ये टॉप 5 लैपटॉप्स students, ऑफिक और रोज़मर्रा के युजर्स के लिए परफेक्ट हैं, Acer, ASUS, Lenovo, HP, और Dell ब्रांड्स के ये लैपटॉप्स न केवल किफायती हैं बल्कि शानदार प्रदर्शन, तेज़ स्टोरेज, और मजबूत निर्माण निर्माण स्तर करते हैं। चाहे पढ़ाई हो, ऑफिस का काम हो, या मनोरंजन, ये सभी लैपटॉप आपके कार्यों को बेहतरीन और आसानी से संभालने के लिए तैयार हैं.
इस बजट में, 8GB RAM, 512GB SSD, और प्री-इंस्टॉल सॉफ़्टवेयर जैसे फीचर्स के साथ ये लैपटॉप्स सही मायने में पैसा वसूल ऑप्शन हैं, अपने उपयोग और प्राथमिकताओं के अनुसार इनमें से एक चुनें और तकनीकी दुनिया का आनंद लें.
